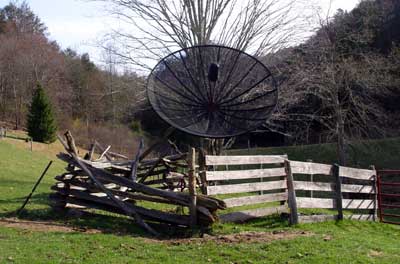
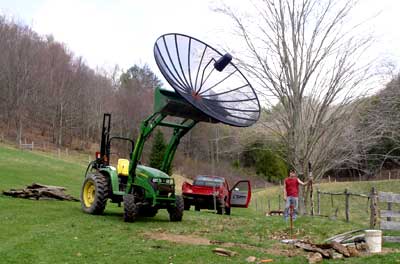
5 April: Before starting on the main project for this year we spent a day removing our old C-band satellite dish. It had not been used for several years and the rail fence keeping the cattle away from it and a well was breaking down. It was a simple job — just unbolt it from the steel post and lift it off. The mesh and most of the frame is aluminum and the hub and support is steel. All but a few plastic parts are going to recycling. Chris has his left hand on the post here the dish had been mounted.
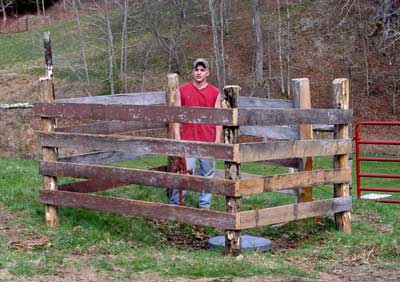
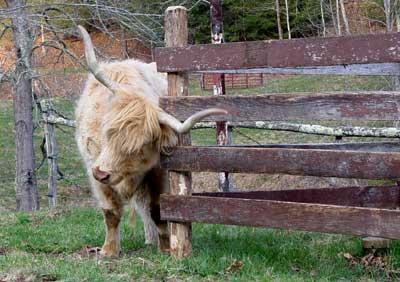
Once we had cleaned up the dish and all of the old rails, we drove 5 posts and built a board fence around the well and a water hydrant. We do not use the well now but it is nice to have it in case our spring ever fails. The spring has always been reliable, putting out the same flow every time it has been checked in any season. Beth loves to rub on the fence corner. Here she is just moments after we had finished the job.
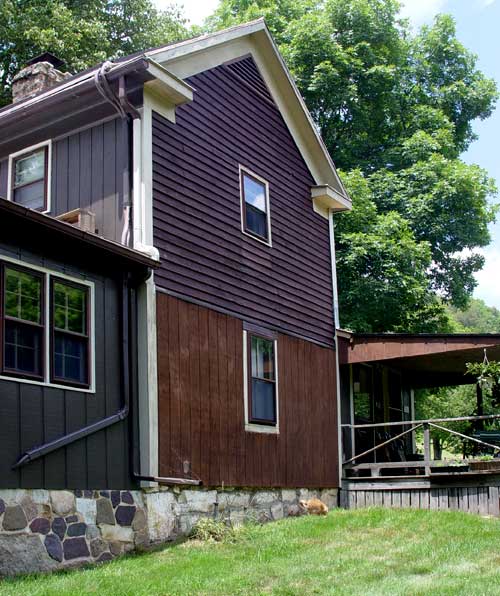
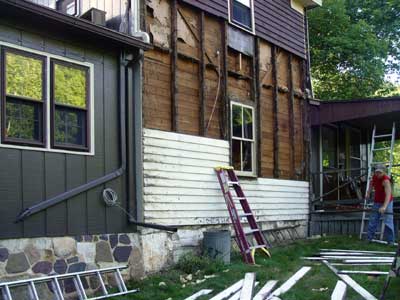
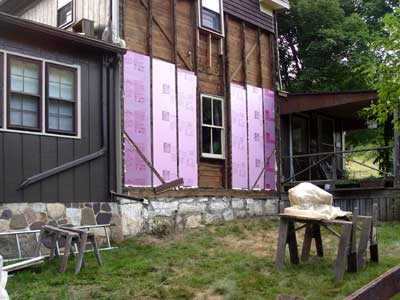
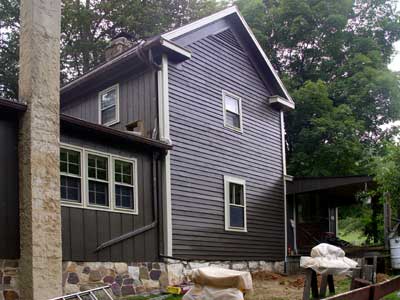
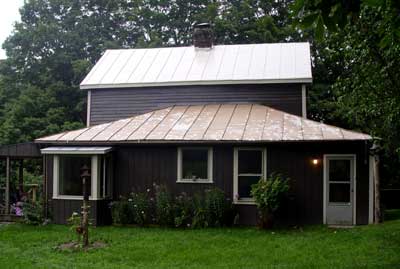
30 June: Our house before the project. The section at left was painted last year.
Rudy is sitting next to the foundation.
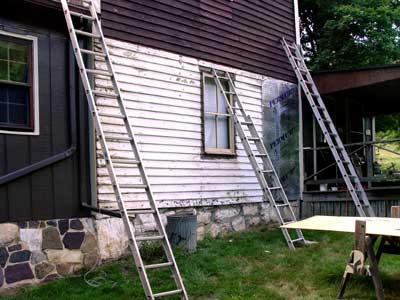
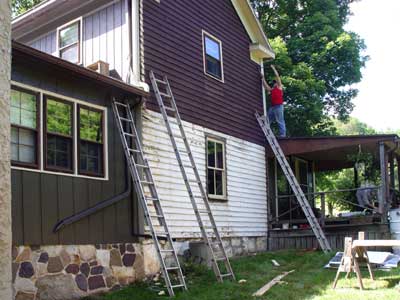
The first step was to remove the T111 siding and ½" foam boards that had been nailed over the clapboard siding by the previous owner. It was ugly, provided very little insulation, and the clapboard under it was in as good a condition as anywhere else on the house. In the right photo, Chris is starting to remove the casing at the far corner. It is already gone from the near corner.
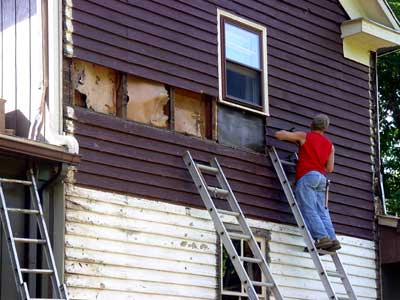
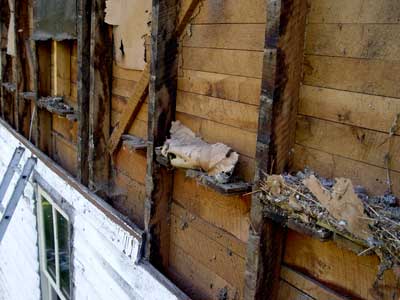
Now we are removing the clapboards. There was no insulation in the wall, just some heavy kraft paper in spots, some of which had fallen away. The flooring for the second story was laid before the interior wall covering was put up. Ends were left sticking out into the stud space. All of these were later cut away so we could install an unbroken insulation layer. Note that it is balloon construction, with the studs running all the way from the sill to the roof with no fire break.
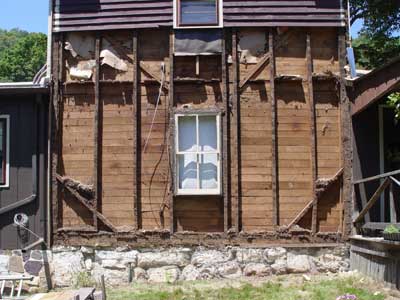
Most of the siding is now off and then, 3 July, all of it below the bedroom window is off. The next step is to remove the accumulated dirt of a century and trim off the flooring, as noted above. The wire coiled up at left went to the bedroom telephone. It used to run up the outside and will now be reinstalled in the stud space.
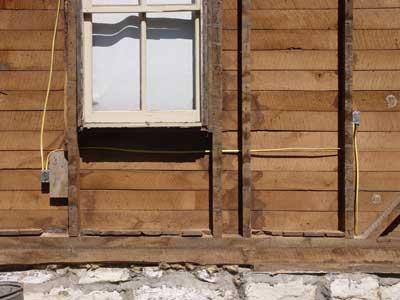
4 July: A new receptacle was installed in the living room and new wire to the existing receptacles, all on a separate circuit. The sill under the whole house is an 8x8-inch oak beam, fully supported on large stones. It is very sturdy and has settled hardly at all despite having no footer under it. 6 July: Most of the insulation is in place on the lower part. It is 3.5 inches of rigid foam, which is R17.5, and the gaps have been sealed with an expanding foam, visible along some of the edges.
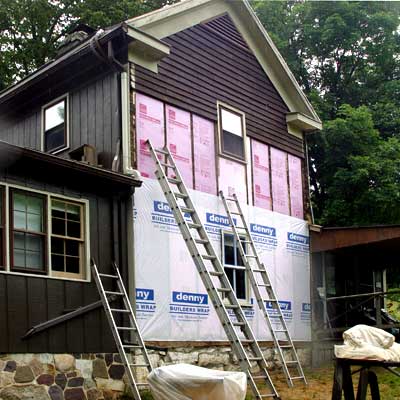
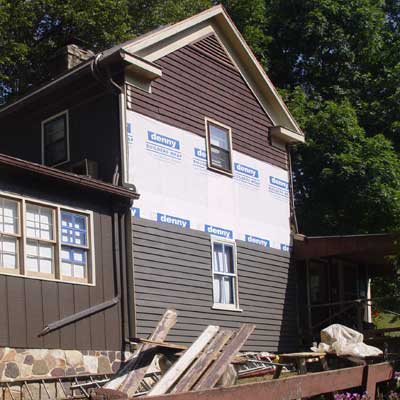
13 July: The insulation is now complete and house wrap covers the lower part. We did not have to remove the clapboards all the way up. The boards near the top were in better condition, so did not need extensive repairs, and we just pushed the foam sheets up into the space behind them. In last year’s painting work we did not do the trim around the window sashes. That is now underway; one of the brown storm windows has been removed at left. 16 July: Over half of the clapboards are back up. Each board was agressively sanded, then repaired with epoxy resin if there were any splits, and given a coat of primer before being put up. We considered replacing the living-room window with a larger, modern, double-glazed one but decided agaiinst it. This is the only remaining window original to the 1904 house, with wrinkled glass typical of that era, so we kept it for historical reasons. The sill was badly rotted so it was replaced with new pressure-treated lumber.

18 July: Chris has been painting the window trim and has finished these two on the west side of the Dawson addition. 21 July: The siding is now all replaced on the east end. We still need to do the window casings and the corner casings. The object under the plastic sheet, foreground, that has been in several photos, is my miter saw, protected from rain.
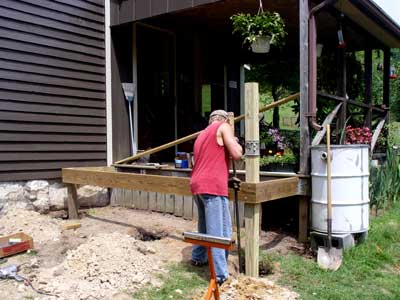
4 August: Painting is complete, including the window trim! 9 August: We are now framing up an addition to the porch. We have always wanted a little more space and access from this side. Chris is tamping in a post.
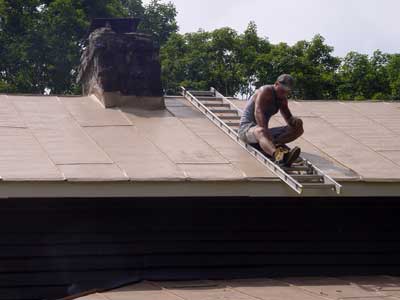

Well, the painting is not quite complete. Shane is preparing the roof for painting. We were not going to tackle that this year but Shane had several days free before going back to college, so here we go. While Shane was on the roof, Chris and I finished the porch and steps. This project is getting close!
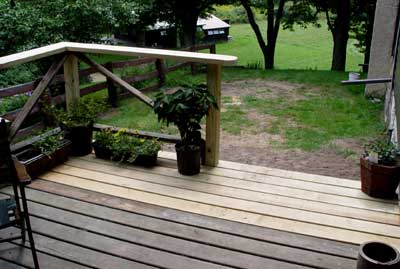
10 August: House plants returned to their summer location on the porch. 11 August: The upper roof is finished and the lower roof is spot primed and ready for two finish coats. Shane and Chris got that done in the next couple of days.
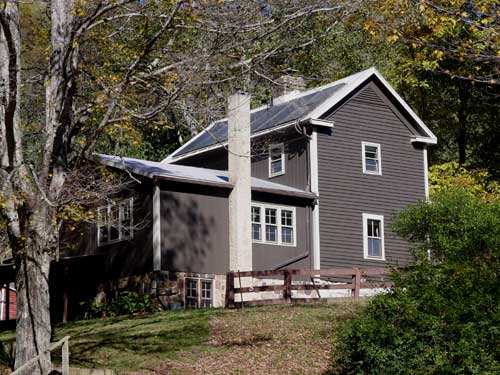
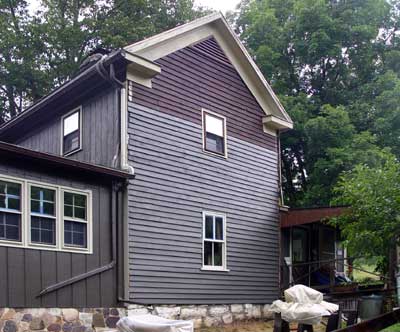
8 October: Our house after completion of the project.

